How To Blur Normal Camera Image 1 Click Just | TechnoSurvive
You can easily Blur your normal phone camera photo in one click just. You have to use one android app for making your normal android phone camera photo. Name of the app is Teleport. It is very tinny apk apps to make normal camera images like DSLR blur mode or dual camera phone portrait mode. This apk app also used to change your background as a custom background, make collage photo,
Features of Teleport Android app
· General camera option
· Can use Flash Light like normal camera option
· Gallery Custom Image Editing
· Background Image add or change
· Hair Color Change or Customize
· Collage 3*3 Photo Making
· Background Blur Option
· Custom Background Color Change
· Skin Color Change
· Hair Color Change
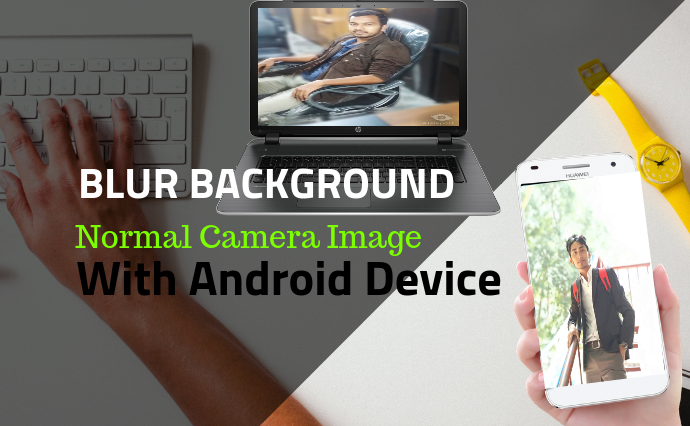 |
| Blur Normal Camera Image |
How to Make Image Blur/ Portrait
First, you need to install Teleport Apk app from Google Play store and then just simply select your image from your gallery or directly capture an image for make background change and DSLR blur or portrait mode. Very easy to use this software and you can work within one click. You also can choose custom blur ratio.
Android Software Link: https://tinyurl.com/teleportandroid
More Help, Check the video Below,
Thanks for watching this video.
You can also Check, How to Remove Teleport Logo Watermark. I had described briefly about this solution.